Do you soak dried beans for 12 hours before you cook them? Or do you reach for the canned stuff because a) you cant be bothered b) you don’t plan your meals that far ahead? c) you meant to but forgot?
Take heart. A slew of recent cookery articles has confirmed what some people have believed for years – beans don’t really need to be soaked before cooking. Melissa Clark in the New York Times is one such Non Soaker. In a recent article she exhorted readers to ditch canned beans for dried because dried are so easy to cook from scratch: just simmer in salted water until tender without soaking first, she suggests. The keen beans at Epicurious quickly jumped on the no-soak bandwagon too.
As a Soaker I was intrigued – the conventional wisdom, echoed by many fine food writers, is that soaking beans slashes the cooking time and softens the skins. But after a little experimentation myself, involving several pans of butter beans and different cooking methods, I’m pretty much converted. By all means, soak beans if you have the time or inclination, or cheat-soak by bringing your beans to the boil, turning off the heat and leaving them to sit in their water for an hour. But really, soaking them first will save you barely any cooking time at all.
Another thing my experiment confirmed is that salting the water in which you cook the beans does not make them tough, just tastier; tossing in an onion and some bay leaves makes them even more flavourful. And this is where beans cooked from scratch have the edge over canned. Melissa Clarke describes canned beans are “a wan simulacrum, fine in a pinch but never transcendent.” While I love her description, I don’t agree – good quality tinned or canned beans can be perfectly lovely. But there is something wonderfully calming about cooking a pan of dried beans; the starchy broth it produces is delicious added to soups and bean dishes (as Rachel Roddy explains so well in her wonderful cookbook Five Quarters). Plus, the beans you cook yourself are definitely creamier than canned.
I generally cook whole packets of beans at a time these days, rather than leave oddments in the larder, and either keep the cooking pan (with the beans and liquid) in the fridge for cooking meals throughout the week (as per Roddy’s suggestion). Or else I freeze what I’m not using immediately, for reheating in fresh water later. This is handy because if you have beans to hand you have a meal.
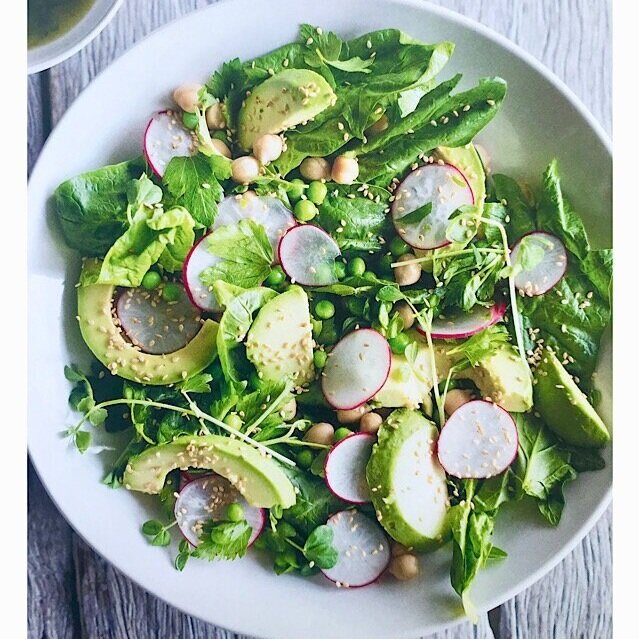
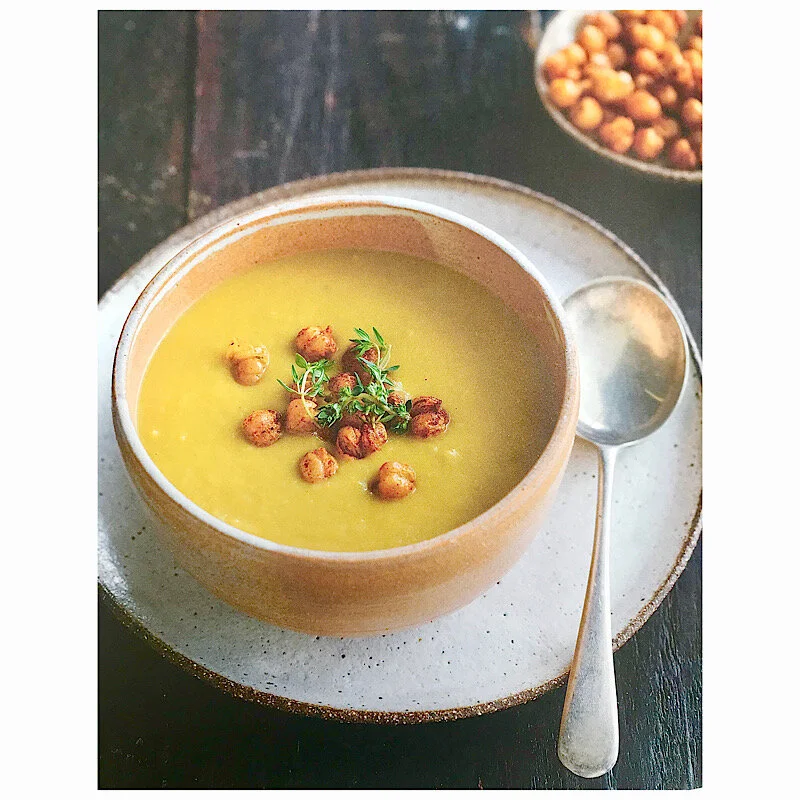
Beans slurp up flavours, so I cook them all sorts of ways. I often blitz them into a creamy puree in the blender, adding some of the bean cooking water to loosen, then maybe some herbs and spices, yoghurt or olive oil, a garlic clove or maybe even a little saffron crushed in hot water. To make soup, stir in lots of hot stock, or leave it thick and creamy to serve in lieu of mashed potatoes with meat (lamb chops!) or for dunking vegetables.
Beans are also fantastic in the soup pot – with or without a bacon bone – and lots of lovely vegetables, or used to bulk out stews if you’re trying to cut down on meat. I’m rather fond of the recipe below – it’s a bean stew in its own right, although the addition of bacon and/or chorizo really elevates it into something wonderful.
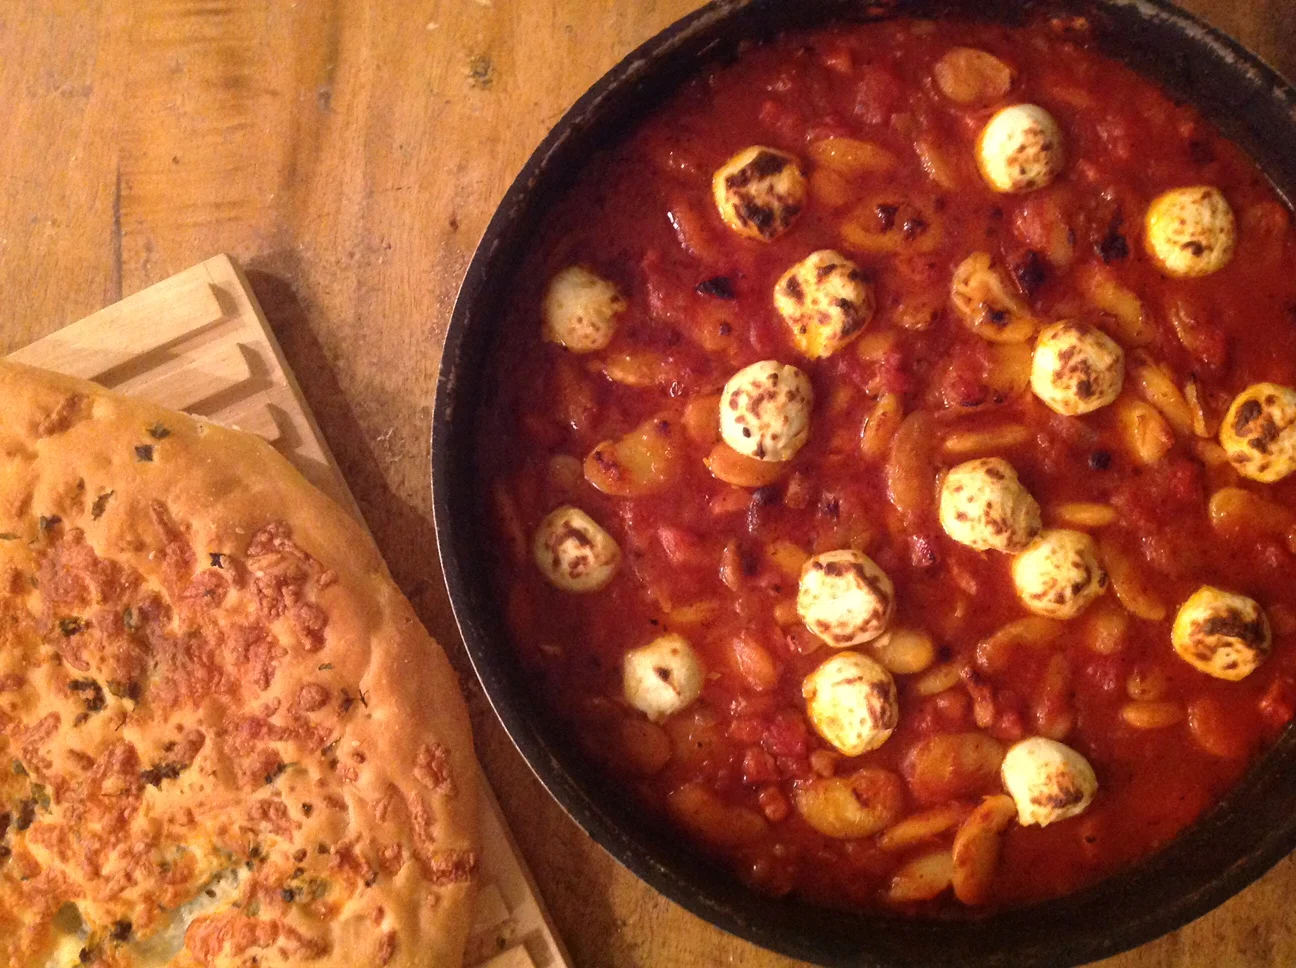
Spicy bean stew with mozzarella puddles
You can easily make this a vegetarian version just by leaving out the pancetta or chorizo
- Olive oil
- 200g pancetta or cooking chorizo
- 1 onion, finely chopped
- 2 garlic cloves, finely chopped
- 2 tins tomatoes, chopped
- 1 red pepper, chopped
- 1 tablespoon chipotle paste
- ¾ tbsp dried oregano
- 600g cooked white beans + 1 cup of cooking liquid
- 120g mozzarella or labneh balls (or 2cm cubes)
- salt and pepper
Warm a good splash of olive oil in an ovenproof frying pan and add the pancetta or chorizo. Cook, stirring often, until the pancetta is crispy at the edges and starting to turn golden. Remove from the pan with a slotted spoon and put to one side. Add the onion and a pinch of salt to the pan and cook very gently for 10 minutes, until very soft and golden. Add the red pepper and garlic and cook for a couple of minutes more. Stir in the pancetta and chipotle paste so it’s combined with all the ingredients and lovely and aromatic. Add the tomatoes and oregano, squash any big bits with a wooden spoon, and season well with salt and pepper. Add 250ml of the bean cooking liquid (or water if you don’t have any) and simmer for 10 minutes or until thickened slightly. While this is happening, preheat the grill to high. Add the beans to the tomato mixture and simmer for 5 minutes more, until warmed through. Dot the top of the mixture with mozzarella or labneh all and set under the grill for 5 minutes, or until melted into creamy puddles.